
What Actually Happens, Step by Step
Homeowners frequently expect a mini split installation to be a quick appliance swap. It is more involved than that, and knowing the sequence makes it easier to judge whether a quote is complete.
The whole process is covered under mini split installation, but here is what a proper multi-zone job involves.
1. Placement Decisions
Indoor heads. Where each one goes affects both performance and how the room looks. High on a wall with clear throw across the space, away from obstructions, and somewhere the condensate can drain sensibly.
Outdoor condenser. Needs clearance for airflow, a stable mounting point on a pad or wall brackets, service access, and a route back to every indoor head. Sun exposure matters in Arizona, and shade helps.
Branch box, if the design uses one. Some multi-zone systems distribute refrigerant through a branch box rather than running individual lines all the way to the condenser. That box needs an accessible location, because it is a serviceable component.
These decisions come before the equipment order, not on install day.
2. Line Set Routing
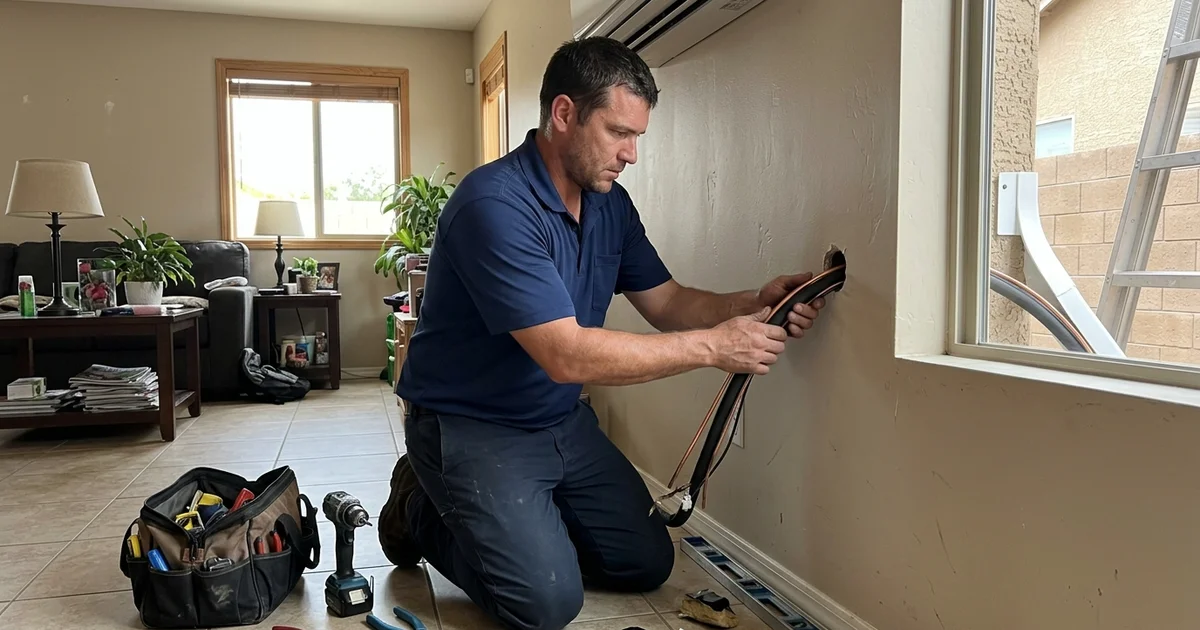
Each indoor head connects to the outdoor unit via a line set carrying two refrigerant lines, a condensate drain and a communication cable, all bundled.
The route determines both the cost and the appearance. Straight down an exterior wall to a condenser directly below is simple. Around three sides of a house to reach a bedroom on the far corner is not.
On the exterior, the bundle runs inside a line hide channel that can be painted to match the wall. Bare insulated line strapped to a stucco wall is a sign of a rushed job, and it degrades in sunlight.
3. Wall Penetrations
Roughly a three-inch hole per indoor head, cored through the exterior wall, sloped slightly outward so condensate drains, and sealed properly on both sides.
Compared with retrofitting ductwork this is minimal, which is the entire reason mini splits work in historic Pasadena bungalows and pre-1960 Burbank homes where a conventional duct retrofit would be a construction project.
4. Condensate Drainage
Every indoor head produces condensate while cooling, and it has to go somewhere.
Gravity drainage through the wall penetration is the preferred solution: simple, silent and nothing to fail. Where the geometry does not allow it, a condensate removal pump is fitted, which works fine but is an additional component and an additional potential failure point. Getting this wrong produces water damage months later, and it is worth asking any contractor how they intend to handle it.
5. Flare Connections and Pressure Testing
Refrigerant connections on a mini split are flared rather than brazed, which means the flare has to be cut properly with the right tool and tightened to manufacturer torque specification with a torque wrench.
Flares tightened by feel are the single most common source of slow refrigerant leaks in mini split systems, and they can take a year to show up as reduced capacity.
The system is then pressure tested with nitrogen to confirm the joints hold before any refrigerant is introduced.
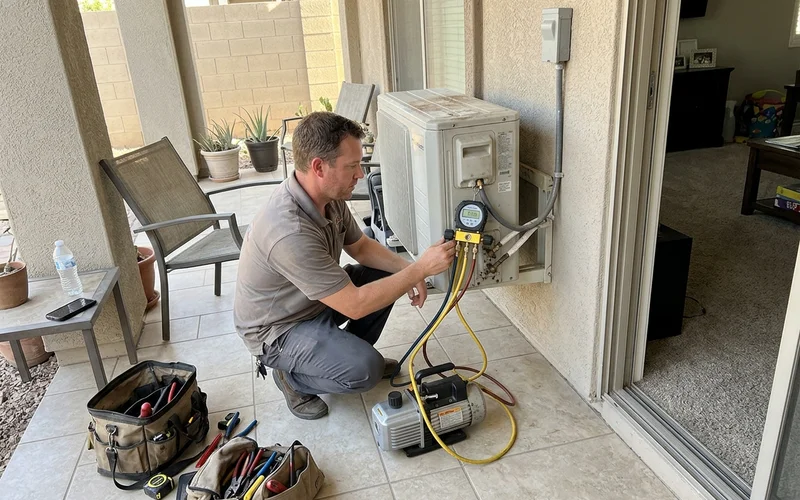
6. Evacuation, the Step That Gets Skipped
This is where a good install and a fast install separate
A deep vacuum measured on a micron gauge, then held and verified. Anything less leaves air and moisture in a system designed to contain neither.
Air in the line set raises head pressure and reduces capacity. Moisture reacts with refrigerant oil to form acids that degrade the compressor over years. Neither problem shows on day one, which is exactly why a rushed installer can skip this and hand over a system that seems perfect.
7. Commissioning
Charge verified, each zone tested independently, airflow confirmed, controls configured, and the homeowner walked through operation. On a multi-zone system, testing zones independently matters because a wiring or communication fault between one head and the condenser can hide until the day you first use that room.
Realistic Timeline and Disruption
| Configuration | Typical duration |
|---|---|
| Single zone, exterior wall | 1 day |
| Two to three zones | 1-2 days |
| Four or more zones | 2-3 days |
Disruption is moderate: drilling for penetrations, ladder work outside, and technicians moving between the rooms receiving heads. Furniture near the mounting locations needs moving. Power is off to the affected circuit during electrical connection.
If you are still deciding whether a mini split is right for your situation at all, where mini splits fit best covers the applications where they genuinely beat the alternatives.